
End credits for DaVinci Resolve.
Turn your credit list into an editable sequence in Edit Credits, then bring the rendered file into your final timeline.
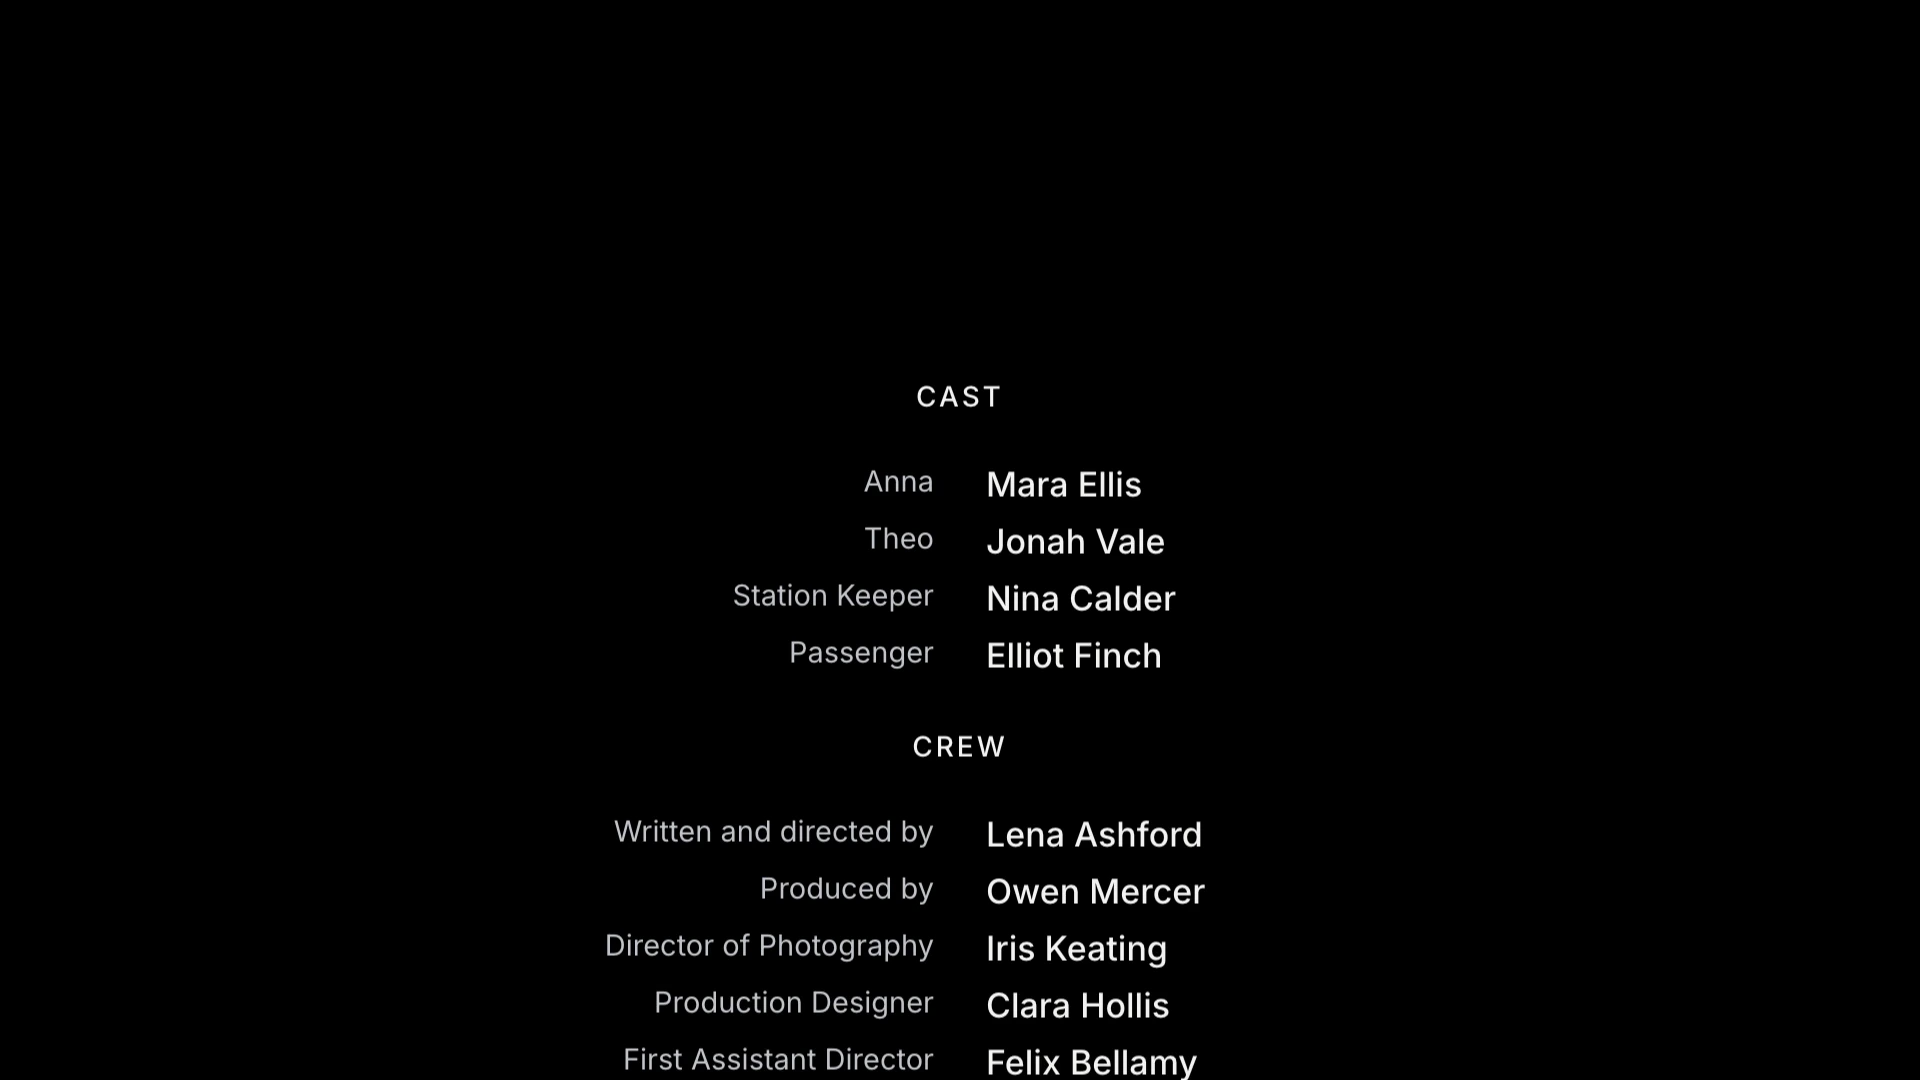
Build once. Bring the file into your edit.
Try the same short-film example shown here before starting with your own list.
Open this exampleDownload the sample MP4- 01
Match your timeline
Set the frame size and frame rate in Edit Credits to match your Resolve timeline. Confirm the timeline frame rate before bringing in the finished credits.
- 02
Export your credits
Use H.264 or ProRes 422 HQ for credits on black. Use ProRes 4444 with Transparent background when the credits need to sit over picture.
- 03
Add the file to the Media Pool
In Resolve, use File → Import → Media and choose the downloaded MP4 or MOV. Add it to your timeline from the Media Pool.
- 04
Check the composite
Place a transparent MOV on a video track above picture. If its edges look incorrect, check the clip’s Alpha Mode in Clip Attributes against the file’s straight alpha. Watch the first and last frames and the full roll.
Which export should I choose?
- MP4 / H.264
- A compact preview or opaque credit sequence.
- MOV / ProRes 422 HQ
- An opaque master for finishing.
- MOV / ProRes 4444
- A master with alpha when Transparent background is selected.
- PNG sequence
- Individual frames. Import as an image sequence and confirm its interpreted frame rate.
Revise names and layout in Edit Credits, export a new version, then replace or relink the file in your edit.